|
|
Post by dnic on Jan 22, 2009 15:31:45 GMT -6
Hey Folks, Got one in the works and thought you might like to see the progress. This is from the ground up so I'll start at the bottom. This first pic is a size experiment and is a corner of my shop. More later. 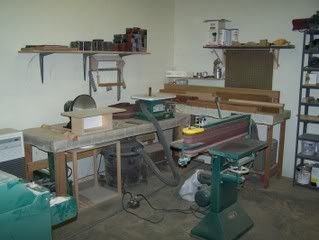 dane  edit to ck size |
|
|
|
Post by dnic on Jan 22, 2009 20:05:28 GMT -6
Ok , the size thing looks like it will work. Some wood pics. 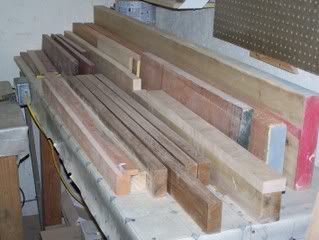 This is some stock I have on hand. Poplar, African Mahogany, Genuine Mahogany, Hard Maple. The 4dark brown pcs. toward the front are Teak left overs. Good neck blanks. 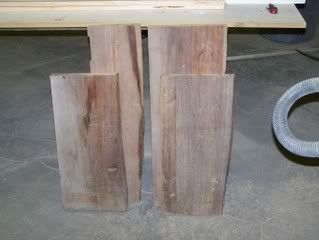 More Teak left overs. From a table I made from reclaimed pole house in Thailand. These were solid Teak doors. 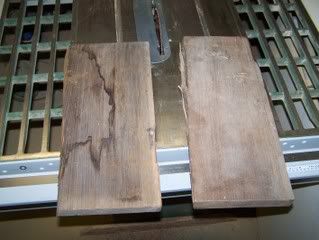 This is the Teak that is in this project.  Glued up. dane  |
|
|
|
Post by dnic on Jan 23, 2009 1:30:39 GMT -6
The neck blank, also Teak and near perfectly quarter sawn. 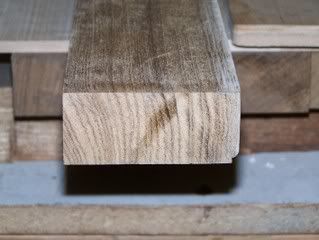 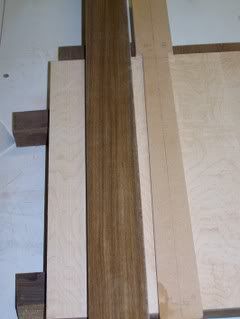 I spend a lot of time making router templates so the the next time I use this body shape it will go much faster. 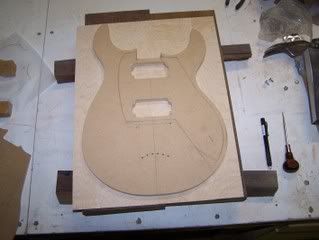 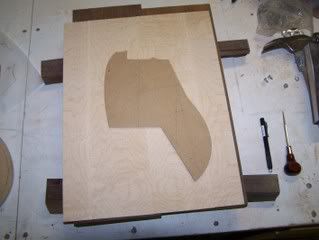 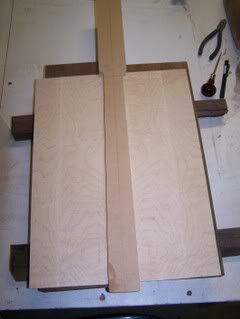 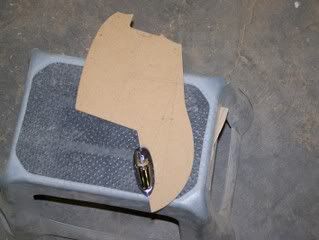 With the jack plate cut in. Still need to rout out the pick up holes in the PG temp. That's enough for today. dane  |
|
|
|
Post by hoz on Jan 23, 2009 12:41:26 GMT -6
Been waiting for these! Nice shop pics. Keep us posted. I'm studying the neck pics for for my own eventual build!
|
|
|
|
Post by dnic on Jan 24, 2009 1:22:16 GMT -6
I was going to start with body pics but since you mentioned necks why not. This is the jig for making the scarf cut and the neck after the cut. 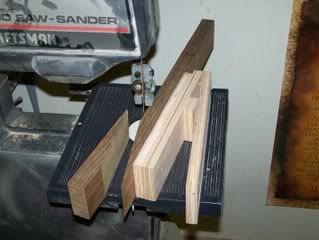 Not shown is the joniting of the angle cut to clean up for gluing. 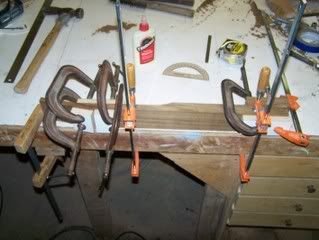 Close up of glued scarf joint. 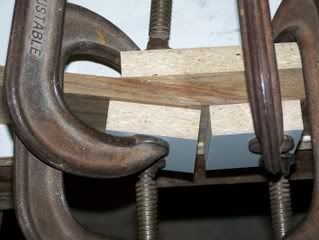 The truss rod slot and the rear set neck joint. 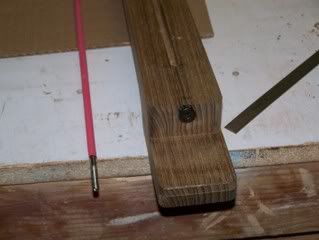 Truss rod in place. The red tubing is shrink tube. Having the rod encased keeps any glue that might get in from sticking the rod and making it useless. 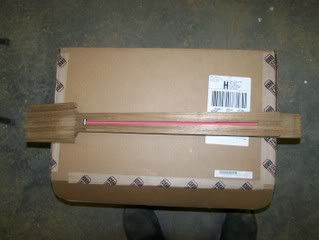 Profile. I use templates to rout the neck angle but the profile is band sawn and sanded. 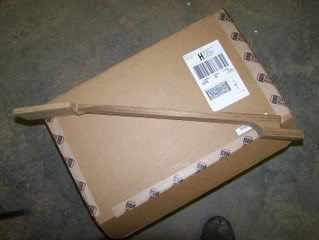 Truss rod fillet glued in. 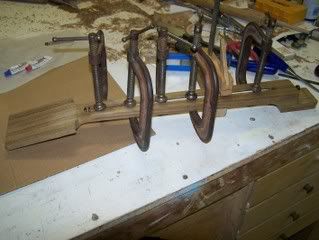 Close up of rod anchor. I set the anchor in epoxy. I make the rod and anchor myself because I live by the stupid rule that says "don't pay anyone to do something you can do yourself". I might be saving a little cash. 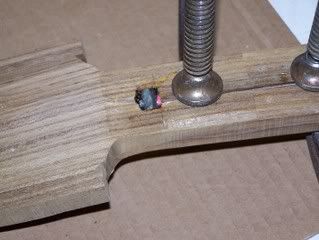 Next post, some jigs and more neck stuff. dane  |
|
|
|
Post by kcjewel on Jan 24, 2009 12:03:03 GMT -6
This build is looking good Dane. I"ve never ventured out to build my own necks and bodies but it looks like it might be fun. Keep the pics coming.
John and the crew
|
|
|
|
Post by dnic on Jan 24, 2009 18:28:16 GMT -6
More pics coming. I was kinda of hoping for your response John. It's a blast and I wouldn't mind causing some folks to have this kind of fun. dane  |
|
|
|
Post by kcjewel on Jan 24, 2009 23:53:17 GMT -6
I'm probably only 7 hours away, maybe I'll pop in sometime and get some lessons ;D. I'm 3 hours south of San Francisco. I'd really love to build a custom from scatch.
John and the crew
|
|
|
|
Post by dnic on Jan 25, 2009 1:51:16 GMT -6
Hey John, I'd love to meet you and if you are ever coming this way be sure to let me know. One proviso, you have to bring the yellow Marshall. About jigs. I'm pretty comfortable with free hand cuts but that leads to a lot of planing or sanding. So for close tolerance stuff I build jigs or templates. 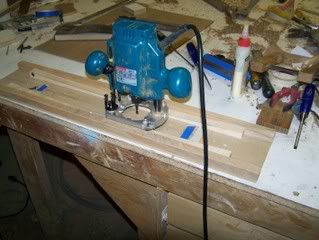 This is my truss rod jig made to fit the little Makita plunge router. The router is held firm between the side boards and the runners match the 1/4" bow I want in the rod. 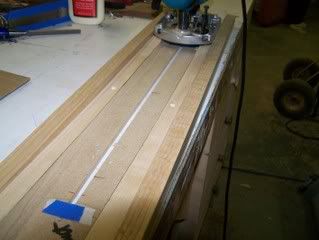 The neck gets screwed to this jig then clamped to the bench. 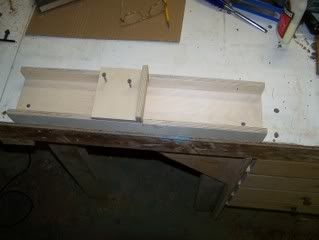 Fret slot square box. Just a shop made miter box without the angles. 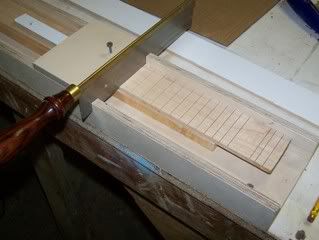 Box with the fret board in the progress. The plank under the fret board has masking tape under it and can be adjusted for depth of cut by adding or removing strips of tape. The cuts off to the right are test cuts for depth. 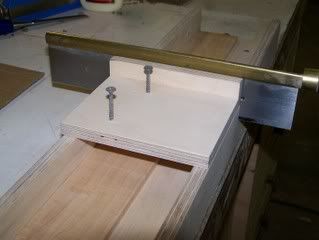 The fret saw from Stew Mac is the right size for the fret tangs and the "back" of the saw acts as a stop when it hits the fence on the box. 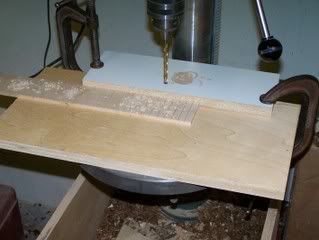 Clamped a straight piece of scrap to the drill press to act as a fence so when lining up the holes for pearl dots I only need to sight the side to side. 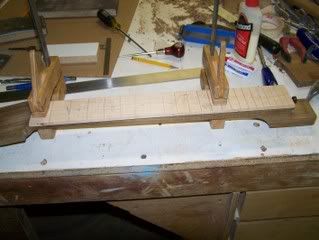 Fret board clamped to neck for line up then drilled in the fret slots to pin in place during glue up. They like to slide around with the glue. 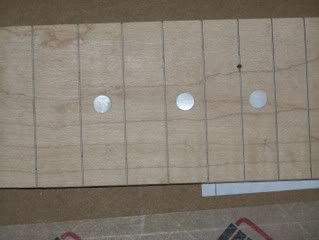 Close up of fret board with hole for locater pin. 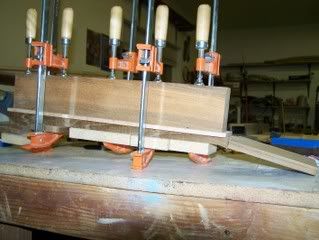 Fret board glued to neck. The big block of teak is joined real flat and after pulling the clamps the neck is very straight. Neither the fret board or the back of the neck has any radius at this point. It makes clamping much simpler. I had planned to use a Bloodwood fret board on this project but after milling the board the color against the Teak was just awful looking so a Maple board instead. dane  |
|
|
|
Post by GuitarAttack Forum on Jan 27, 2009 7:12:42 GMT -6
Great thread, Dane. Thanks for contributing to the forum -- great jigs!
Question: what kind of finish will you put on the teak? I know the WWII battleships had teak decks because the saltwater wouldn't faze it! My grandfather was on the USS Colorado and he used to talk about the decks. Is the wood oily?
Curious minds...
John
|
|
|
|
Post by dnic on Jan 27, 2009 10:03:49 GMT -6
Hi John, I just heard about the old ships with Teak decks. They say the bombs wouldn't penetrate them as easily as steel. But man that's a lot of teak. I may have mentioned before but this teak was reclaimed from pole houses in Thailand and the pieces I'm using in this guitar were a door in another life. Teak is a very dense, heavy wood. And it does have an oily kind of feel to it. When you are sanding it clogs up the paper a lot. But it takes finish well. I plan on an oil finish for this one although I'm pretty sure it would take lacquer. I've been wanting to do this type of soft finish and these woods just lend themselves to it. later, dane  |
|
|
|
Post by dnic on Jan 28, 2009 0:30:15 GMT -6
more neck, 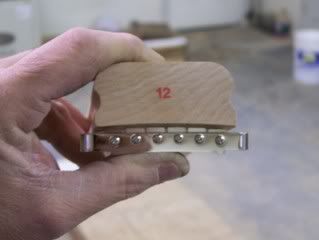 I'm ready to radius the fret board and I'm using the Gotoh tom type bridge. Checking the bridge radius. 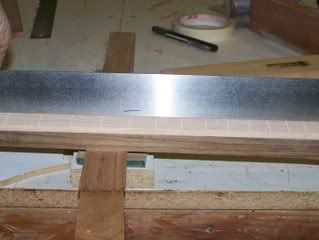 Neck clamped to the bench and checked for straight. 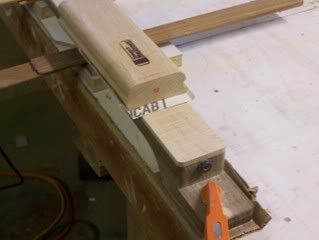 I roughed in the radius on the big belt sander then use the radius block and a straight board with sand paper to fine tune the radius and then work to 320 in the grits. 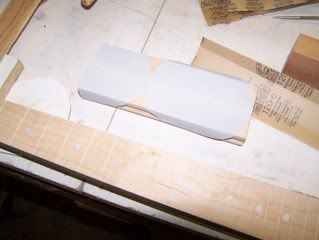 The radius block with 220 sticky discs. 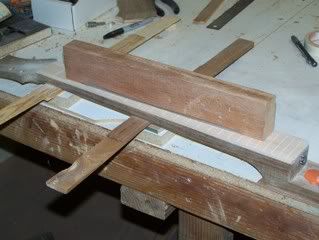 I know people spend lots of cash on surface ground steal beams but one push through my jointer cleans up this mahogany board. 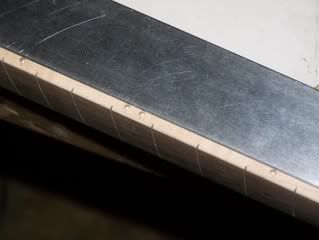 Drilling holes for side dots. Straight edge clamped to neck. 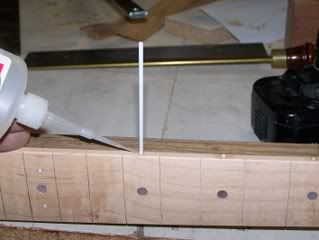 Tap the rod in add a drop CA and clip off. 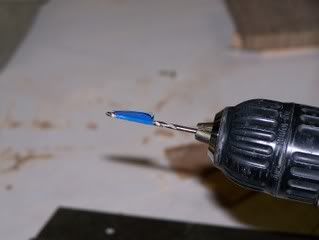 Blue tape depth stop. 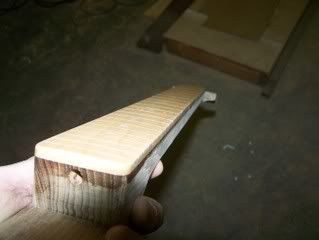 If I was going to lacquer this neck at this point I wood shoot two coats of vinyl sealer. No lacquer on this guitar so I oiled the maple to protect it while I seat the frets. With the board sanded to 320 it shines with the oil but it doesn't show up in the pic. 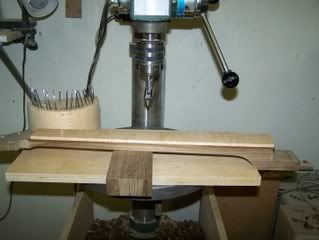 I use my drill press to press in frets. At some point I will get a cheap arbor press from Harbor Freight and adapt my Stew Mac caul to it. I drilled holes in the side of my neck block to hold the frets in order as I cut them. 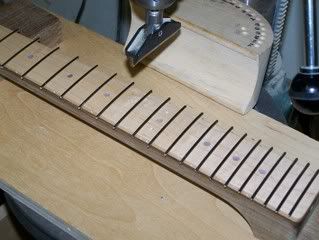 All frets in. 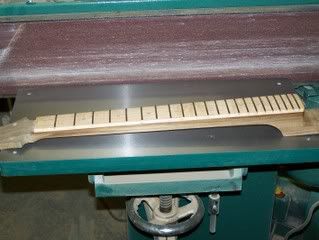 Frets filed flush to the neck edge and beveled about 30 degrees. I will level , crown and dress in my home made neck jig after I carve the neck and set it in the body. These frets were nice and tight in the slots so I did not use any type of glue in the slots but after I edged the frets I dropped a little #10 CA at each fret end. dane  edit, I called it Harbor Fright. But that works to. |
|
|
|
Post by dnic on Jan 29, 2009 10:01:28 GMT -6
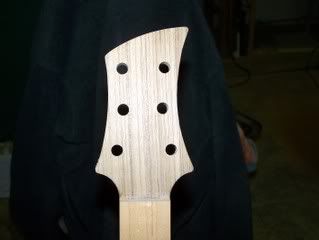 The final size and shape. Drilled for Planet waves tuners. 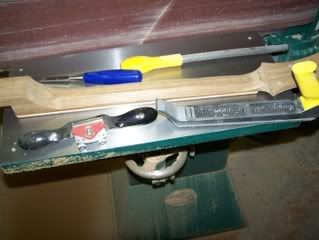 The tools I use for carving a neck. 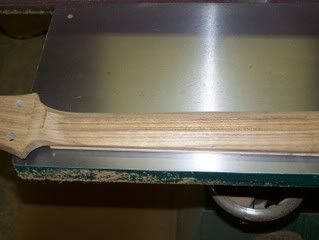 Roughed out on the wheel of the big sander. 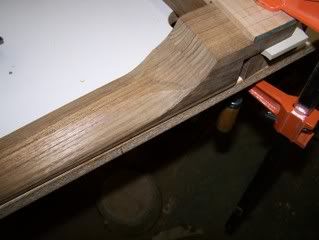 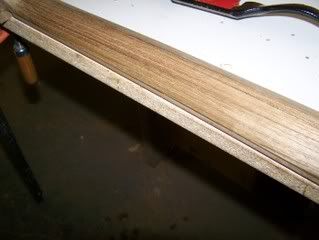 Clamped to the bench. The heel will stay like this until its glued into the the body for final shaping. 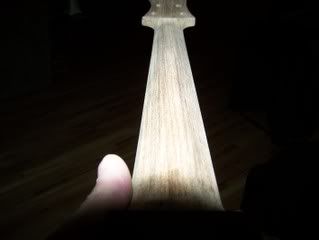 It's hard to photograph a radius. I was aiming for a v type of radius. This is it for now the rest gets dialed in after the neck set. So far I used only the draw plane and 80 grit sand paper. This teak carved like a dream. Next time body pics. Stay with me there is light at the end of this tunnel. dane  |
|
|
|
Post by dnic on Jan 30, 2009 0:46:17 GMT -6
OK body time. 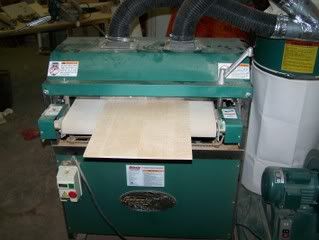 My friend Jack is getting into building Mandolins and bought this drum sander but his shops not done yet so I get it while he waits. But he now thinks he may never have the shop so he basically gave it to me indefinitely. He also has a planner that's coming back to me. Bummer for Jack  . About the pic. Hard Maple resawn on my loaner band saw. Book matched and then sanded. 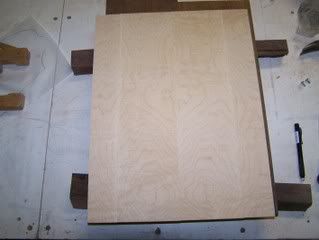 The only pictures I got of the Teak glued up was with the Maple laying on it. Da. It went through the sander as well. 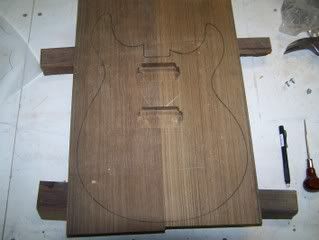 Body shape marked and the pup routs. 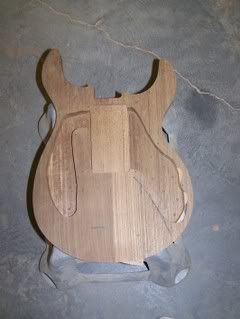 Decided to take as much wood out of this thing as sensible. So, the swimming pool pick up rout and huge control cavity and a chamber. 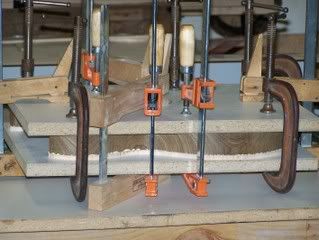 Body and cap glued and clamped 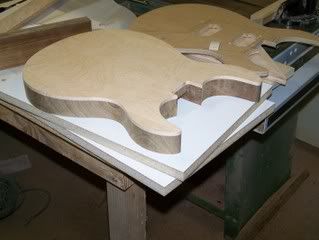 Out of the clamps and trim routed. 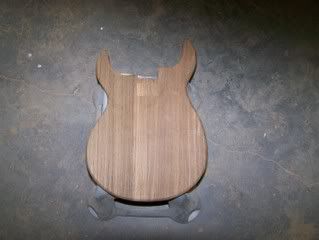 A look at the back. The rout in the back is for the rear neck pocket. 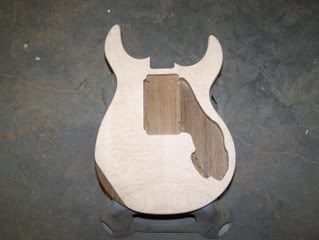 The front showing the pup and control cavity routing. dane  |
|
|
|
Post by dnic on Jan 30, 2009 1:06:50 GMT -6
Hi guys, thought I would post a few shop pics. 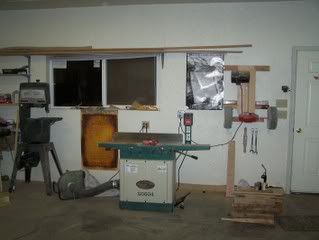 I have avoided wide shots to save the viewer from a panic attack. My shop gets cleaned I mean really cleaned a couple times a year. When I'm working on something I just keep pushing stuff out of the way and keep going. But it makes neat, organized people like my wife totally crazy. 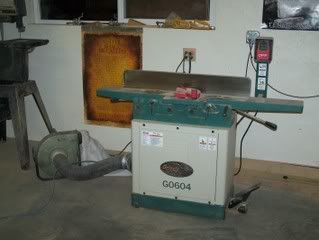 The jointer close up and part of the loaner band saw. 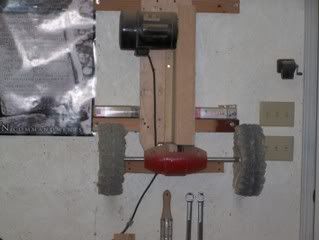 The buffer has been a great addition as far as guitar tools are concerned.  My really cheap Grizzly table saw with a really spendy Beasmeyer rip fence. With an 8'x8' out feed table that is usually covered with junk. Next time the parts I don't make. dane  |
|